Internet of Things (IoT) is transforming every other industry and like every other industry, power sector too is going through a sea of changes, revolutionizing nearly every part of the industry from the transmission, generation to distribution, changing how consumers and electrical manufacturing companies interact. Nowadays, the switchgear is turning inherently intelligent, powered and connected by software-enabled solutions, mso-data-placement same-cell intelligent switchgear mso-data- placement:same-cell intelligent switchgearallowing a way to predict their maintenance.
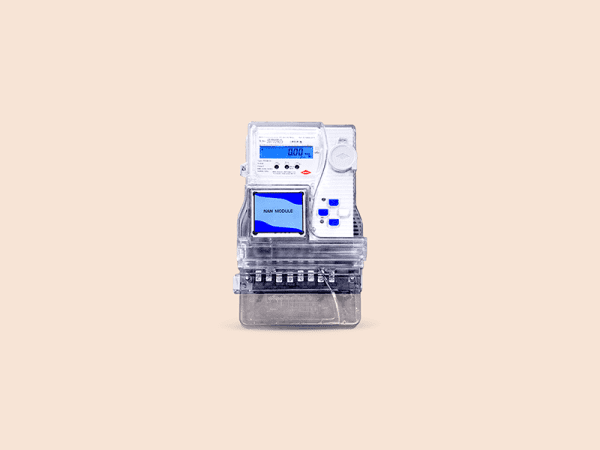
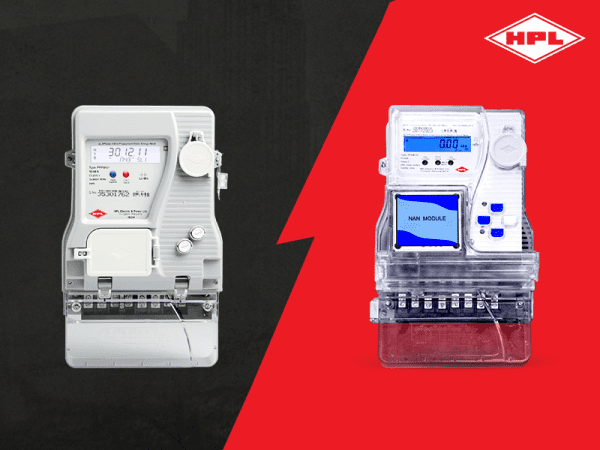
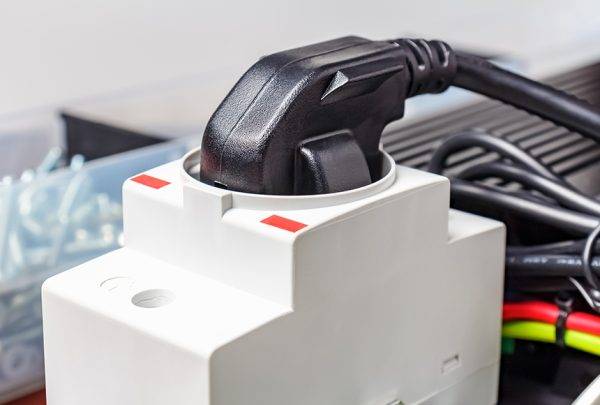
To describe it in simple words, smart and intelligent switchgear is a power distribution solution programmed to self-monitor and manage electricity usage and reduce costs. The technology has enabled in producing such products which are pre-programmed for remote monitoring and communication enhancing protection, monitoring and control. Moreover, by utilizing efficient internal computer technology, intelligent switchgear can overcome the disadvantages of common electric switchgear to perform functions as electric fire prediction prevention, system diagnosis and electric power demand prediction. Switchgears can also identify patterns and predict failures in advance. Hence, minimizing the failures and downtime.
Intelligent Switchgears are better than normal switchgear as they have:
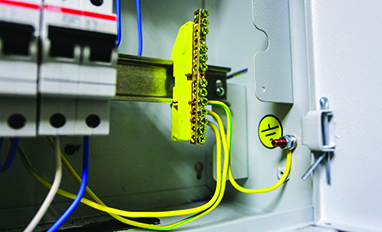
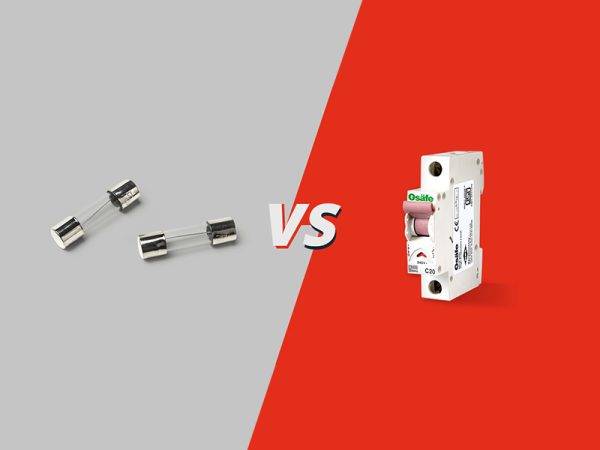
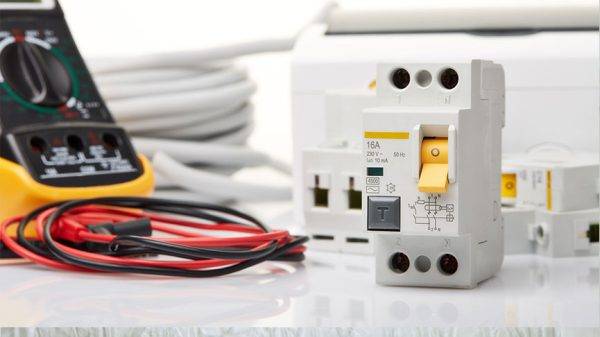
Upgraded breakers with modern-day communication and other power monitoring technology, instead of existing circuit breakers that offer trip units.
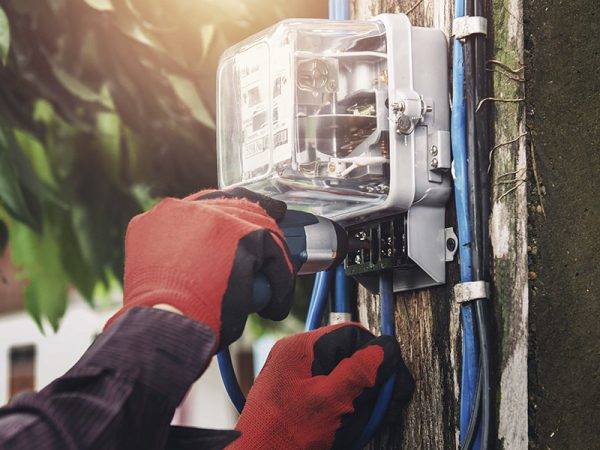
By installing thermal sensors to plan ahead and avoid any possible issues due to degradation of the material or any maintenance required.
By installing a partial discharge monitor which enables the customers to remotely monitor the degradation of insulation material or any issues contributing too many arc flash incidents.
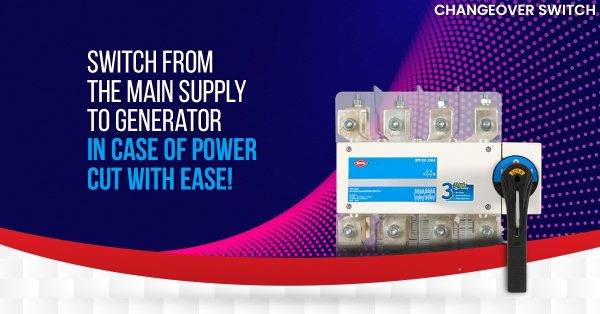
With smart relay auto-transfer systems, you can control possible arc flash incident energy and maintain voltage in the front of the switchgear.
Upgrading existing buildings to comply with new safety expectations and regulations.
Over recent years, the emergence of several technological solutions has significantly enhanced the efficiency of operational utilities and made projects more viable by scaling down costs. With user interfaces getting IoT enabled and the devices getting smarter, intelligent switchgear is catering to the need for centralized control enabled by intelligent switchgear for smart cities which makes the Intelligent Switchgear the next big trend.